
A Visual Guide to using the Google+ API with Auth0
JavaScript projects authorizationThis week I learned how to use Auth0 to authenticate an AngularJS/Node.js app. Auth0 provides a fairly clear tutorial for the initial front- and back-end set-up, but a few of the later steps proved a bit trickier, in part because some of the information in the Auth0 documents for the Google API is a bit out of date. Here is a quick visual guide to supplement that provided by Auth0 once you’ve finished the initial setup.
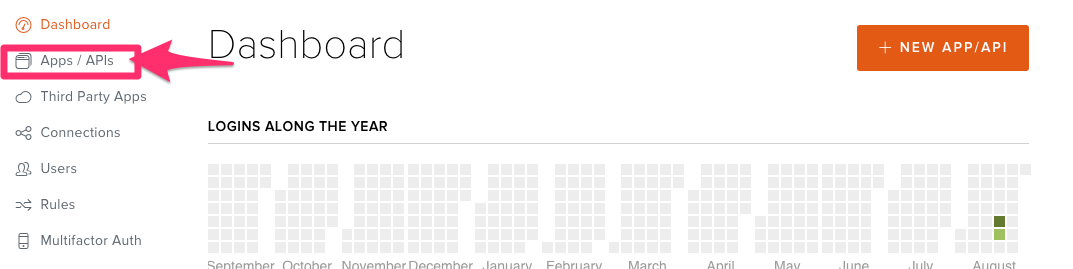
- From your Auth0 dashboard, navigate to App/API menu and choose your app.
- Enter each url with which you want to use your app. Be sure to include the localhost address you use for development, your auth0 domain ending with
/login/callback, and the url of your deployed app.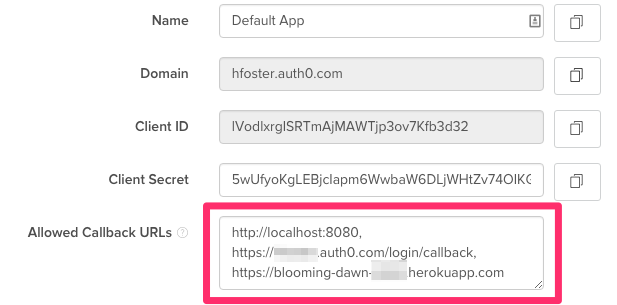
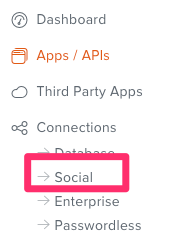
- Navigate to the Connections/Social menu.
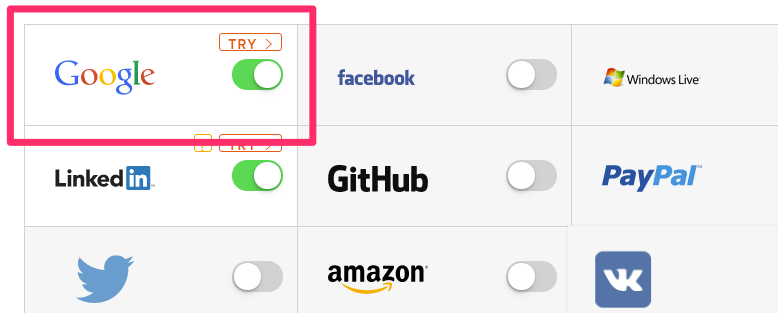
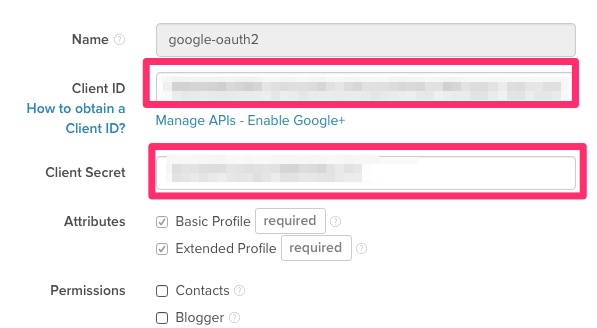
- Turn on Google, then click on it. This will open up a form in which you will need to enter the Client ID and Client Secret you will next retrieve from the Google API.
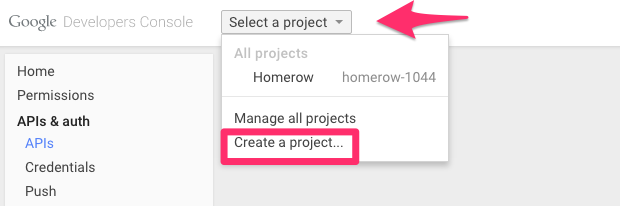
- Next, go to the Google Developers’ Console. If necessary, sign-up for an account.
- Create a new project.
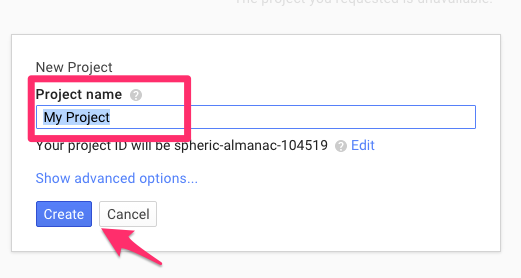
- Enter a name, and then create your project.
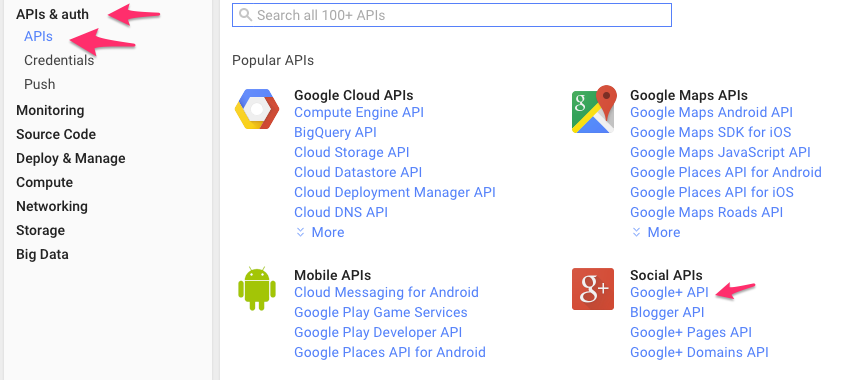
- Navigate to the Google+ API.
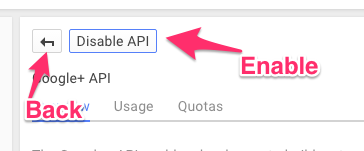
- Enable Google+, then go back to the main menu.
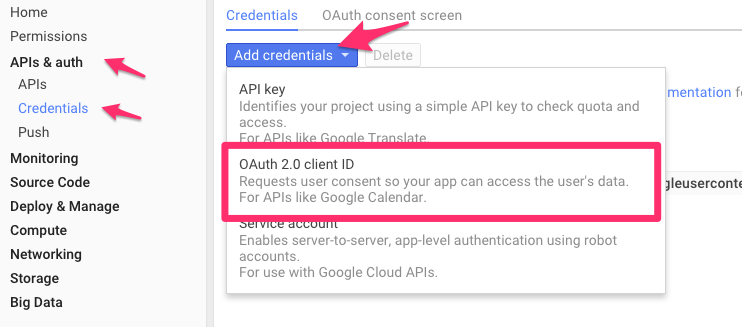
- Navigate to your credentials and add the OAuth 2.0 client ID.
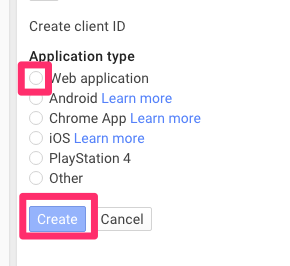
- Select Web application.
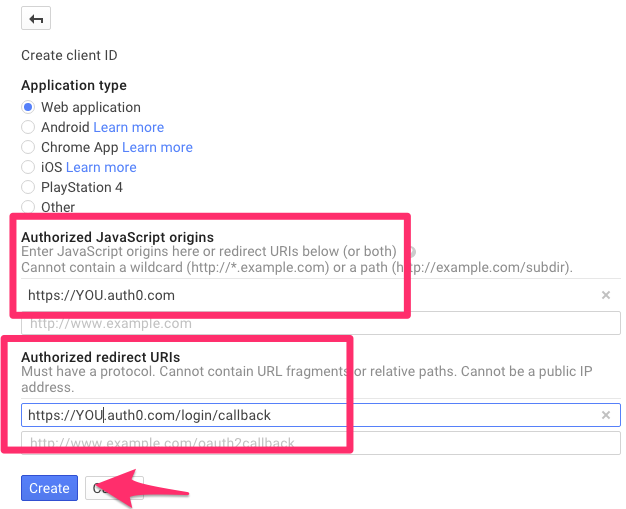
- Enter your auth0 domain into the JavaScript Origins field, and your auth0 callback url into the Redirect URI field, then create.
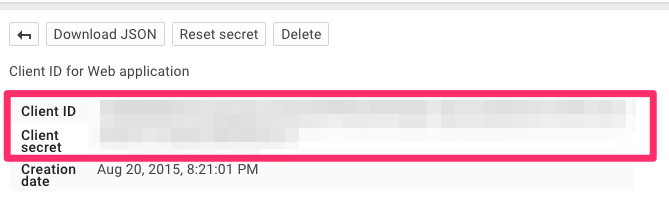
- Copy/paste the given Client ID and Client Secret into your Auth0 form for the Google API from step 4.
- Save, and check out your app! You should now be able to log in to it using Google+.
Written on August 22, 2015